


2015 Toyota Corolla Oil Change Supplies & How-To

Intro
As an affilliate with partner organizations, we may earn commissions on products purchased throuh the links on this page. Your decision to purchase those items allows us to contnue to provide helpful information to home-auto-repair
Supplies You'll Need
Supplies You'll Want
Oil Filter Wrench

Having the right tool makes twisting a slippery oil filter off of a heated and cooled block of metal an easy job.
Check out our article on the best Oil Filter Wrenches here.
Socket Wrench Set

You'll need at least one wrench for the drain plug unscrewed, and having full set prepares you for the unexpected.
Check out our article on the best Mechanic's Tool Set here.
Oil Drain Pan
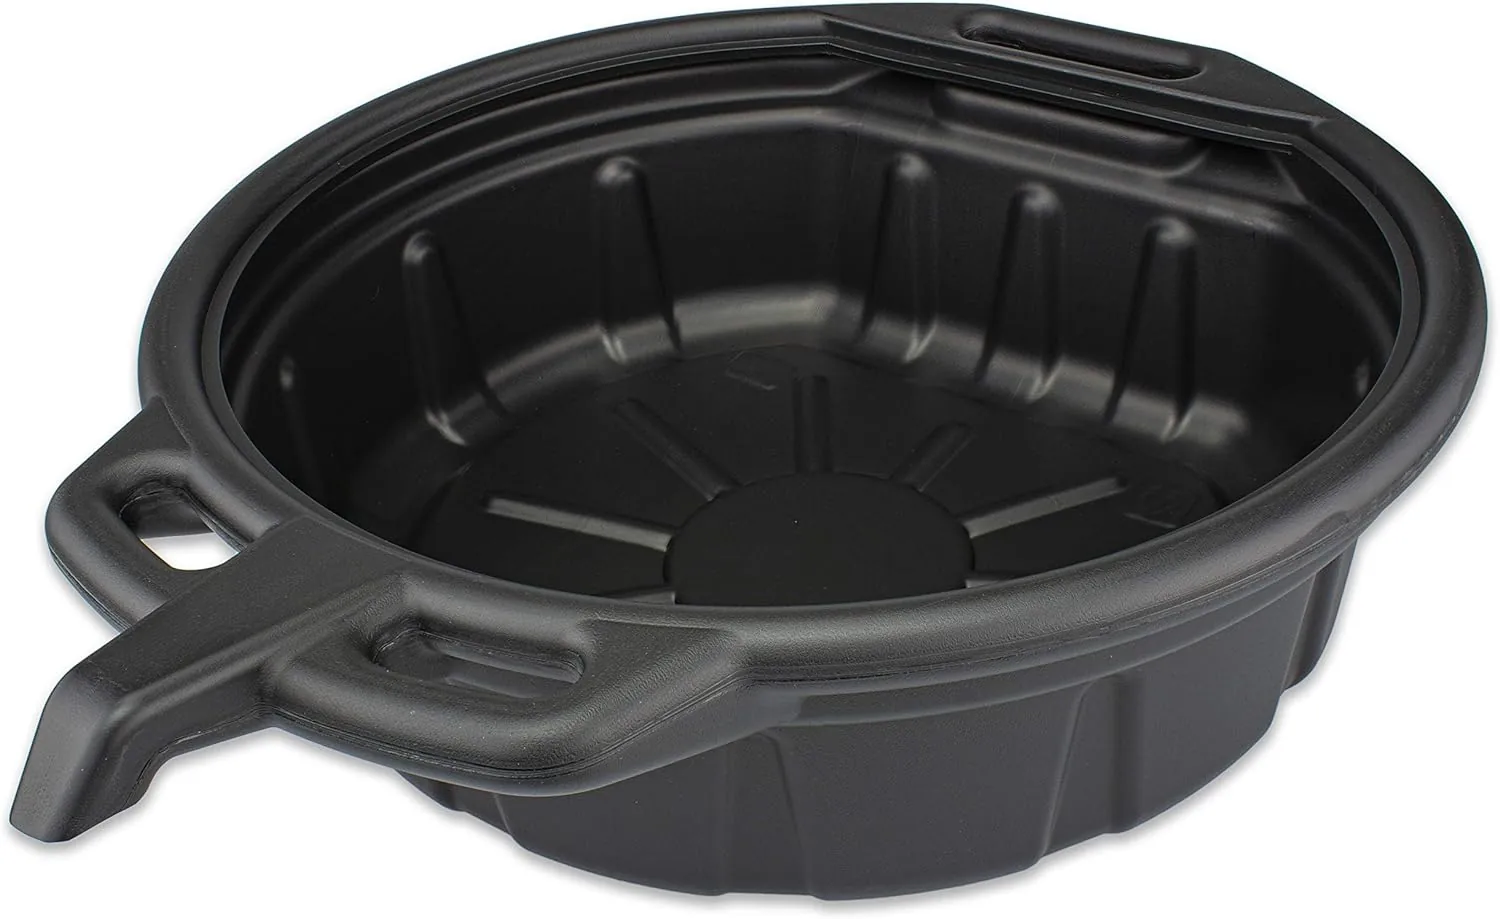
You don't want quarts of oil all over no-matter-what your ground surface is. A built-to-task pan makes the job easy.
Check out our article on the best Engine Oil Drain Pans here.
Funnels

Prevent oil from getting places it shouldn't be. A detachable hose is great for automotive use.
Shop Towels

Prevent oil from getting places it shouldn't be. A detachable hose is great for automotive use.
Disposable Gloves

If stained hands or the penetrating aroma of motor oil bother you, consider wearing a pair of these.
How-To Guide
1: Prepare Workspace
Once you've gathered your tools and materials, you'll need to prepare the work environment. Park on a level surface and engage the parking brake. Pop the hood and locate the oil filler cap and dipstick. Clear any clutter around and under the vehicle to give yourself plenty of room to work.
2: Warm Up Engine
Start the engine and let it run for a few minutes to warm up the oil. This will help it flow more freely when you drain it later. Watch out for hot engine components and allow the truck to cool down slightly before moving on if you got it too warm.
3: Align Drain Pain
Slide the oil drain pan underneath the vehicle, positioning it directly below the oil drain plug, or where it looks like a stream of oil may flow to when it comes out of the drain. Make sure the pan is large enough to catch all the oil that will be draining out.
4: Remove the Drain Plug
Using a socket wrench, loosen the oil drain plug located on the bottom of the engine oil pan. Turn it counterclockwise to loosen it, but be prepared for some resistance. Once the plug is loose, carefully remove it by hand and allow the oil to drain completely into the pan. Be sure to stay back a bit as oil is likely to splash at least a little on the screw while you're trying to get it out of the stream quickly.
5: Remove the Oil Filter
While the oil is draining, locate the oil filter. After the oil is done draining, move the oil drain pan underneath the oil filter. Use an oil filter wrench to loosen the old filter by turning it counterclockwise. Once it's loose, unscrew it the rest of the way by hand and let any remaining oil drain into the pan.
6: Reinstall the Drain Plug
Reinsert the drain plug into the engine oil pan by hand. Then, using a socket wrench, tighten the drain plug clockwise until it's snug. Be careful not to over-tighten, as this can damage the threads on the oil pan or the head of the drain plug screw.
7: Install New Oil Filter
Before installing the new oil filter, lubricate the rubber gasket with a small amount of fresh oil. This will help create a tight seal and prevent leaks. Screw the new filter onto the engine by hand, turning it clockwise until it's snug. Avoid over-tightening.
8: Add New Oil
With the old oil drained, the drain plug tightened, and the new filter installed, you're ready to add fresh oil to your truck. Remove the oil cap from the engine oil tube and add the amount of oil as outlined in your owners manual.
Conclusion
Gathering the right tools and materials is the first step in successfully changing the oil in your vehicle. By following these instructions, taking your time, and changing the oil regularly you'll be able to keep it running smoothly for many miles to come.